“Twenty years from now you will be more disappointed by the things that you didn't do than by the ones you did do. So throw off the bowlines. Sail away from the safe harbor. Catch the trade winds in your sails. Explore. Dream. Discover.” – Mark Twain


1 Comment

Dealing with a Pandemic on a Sailboat

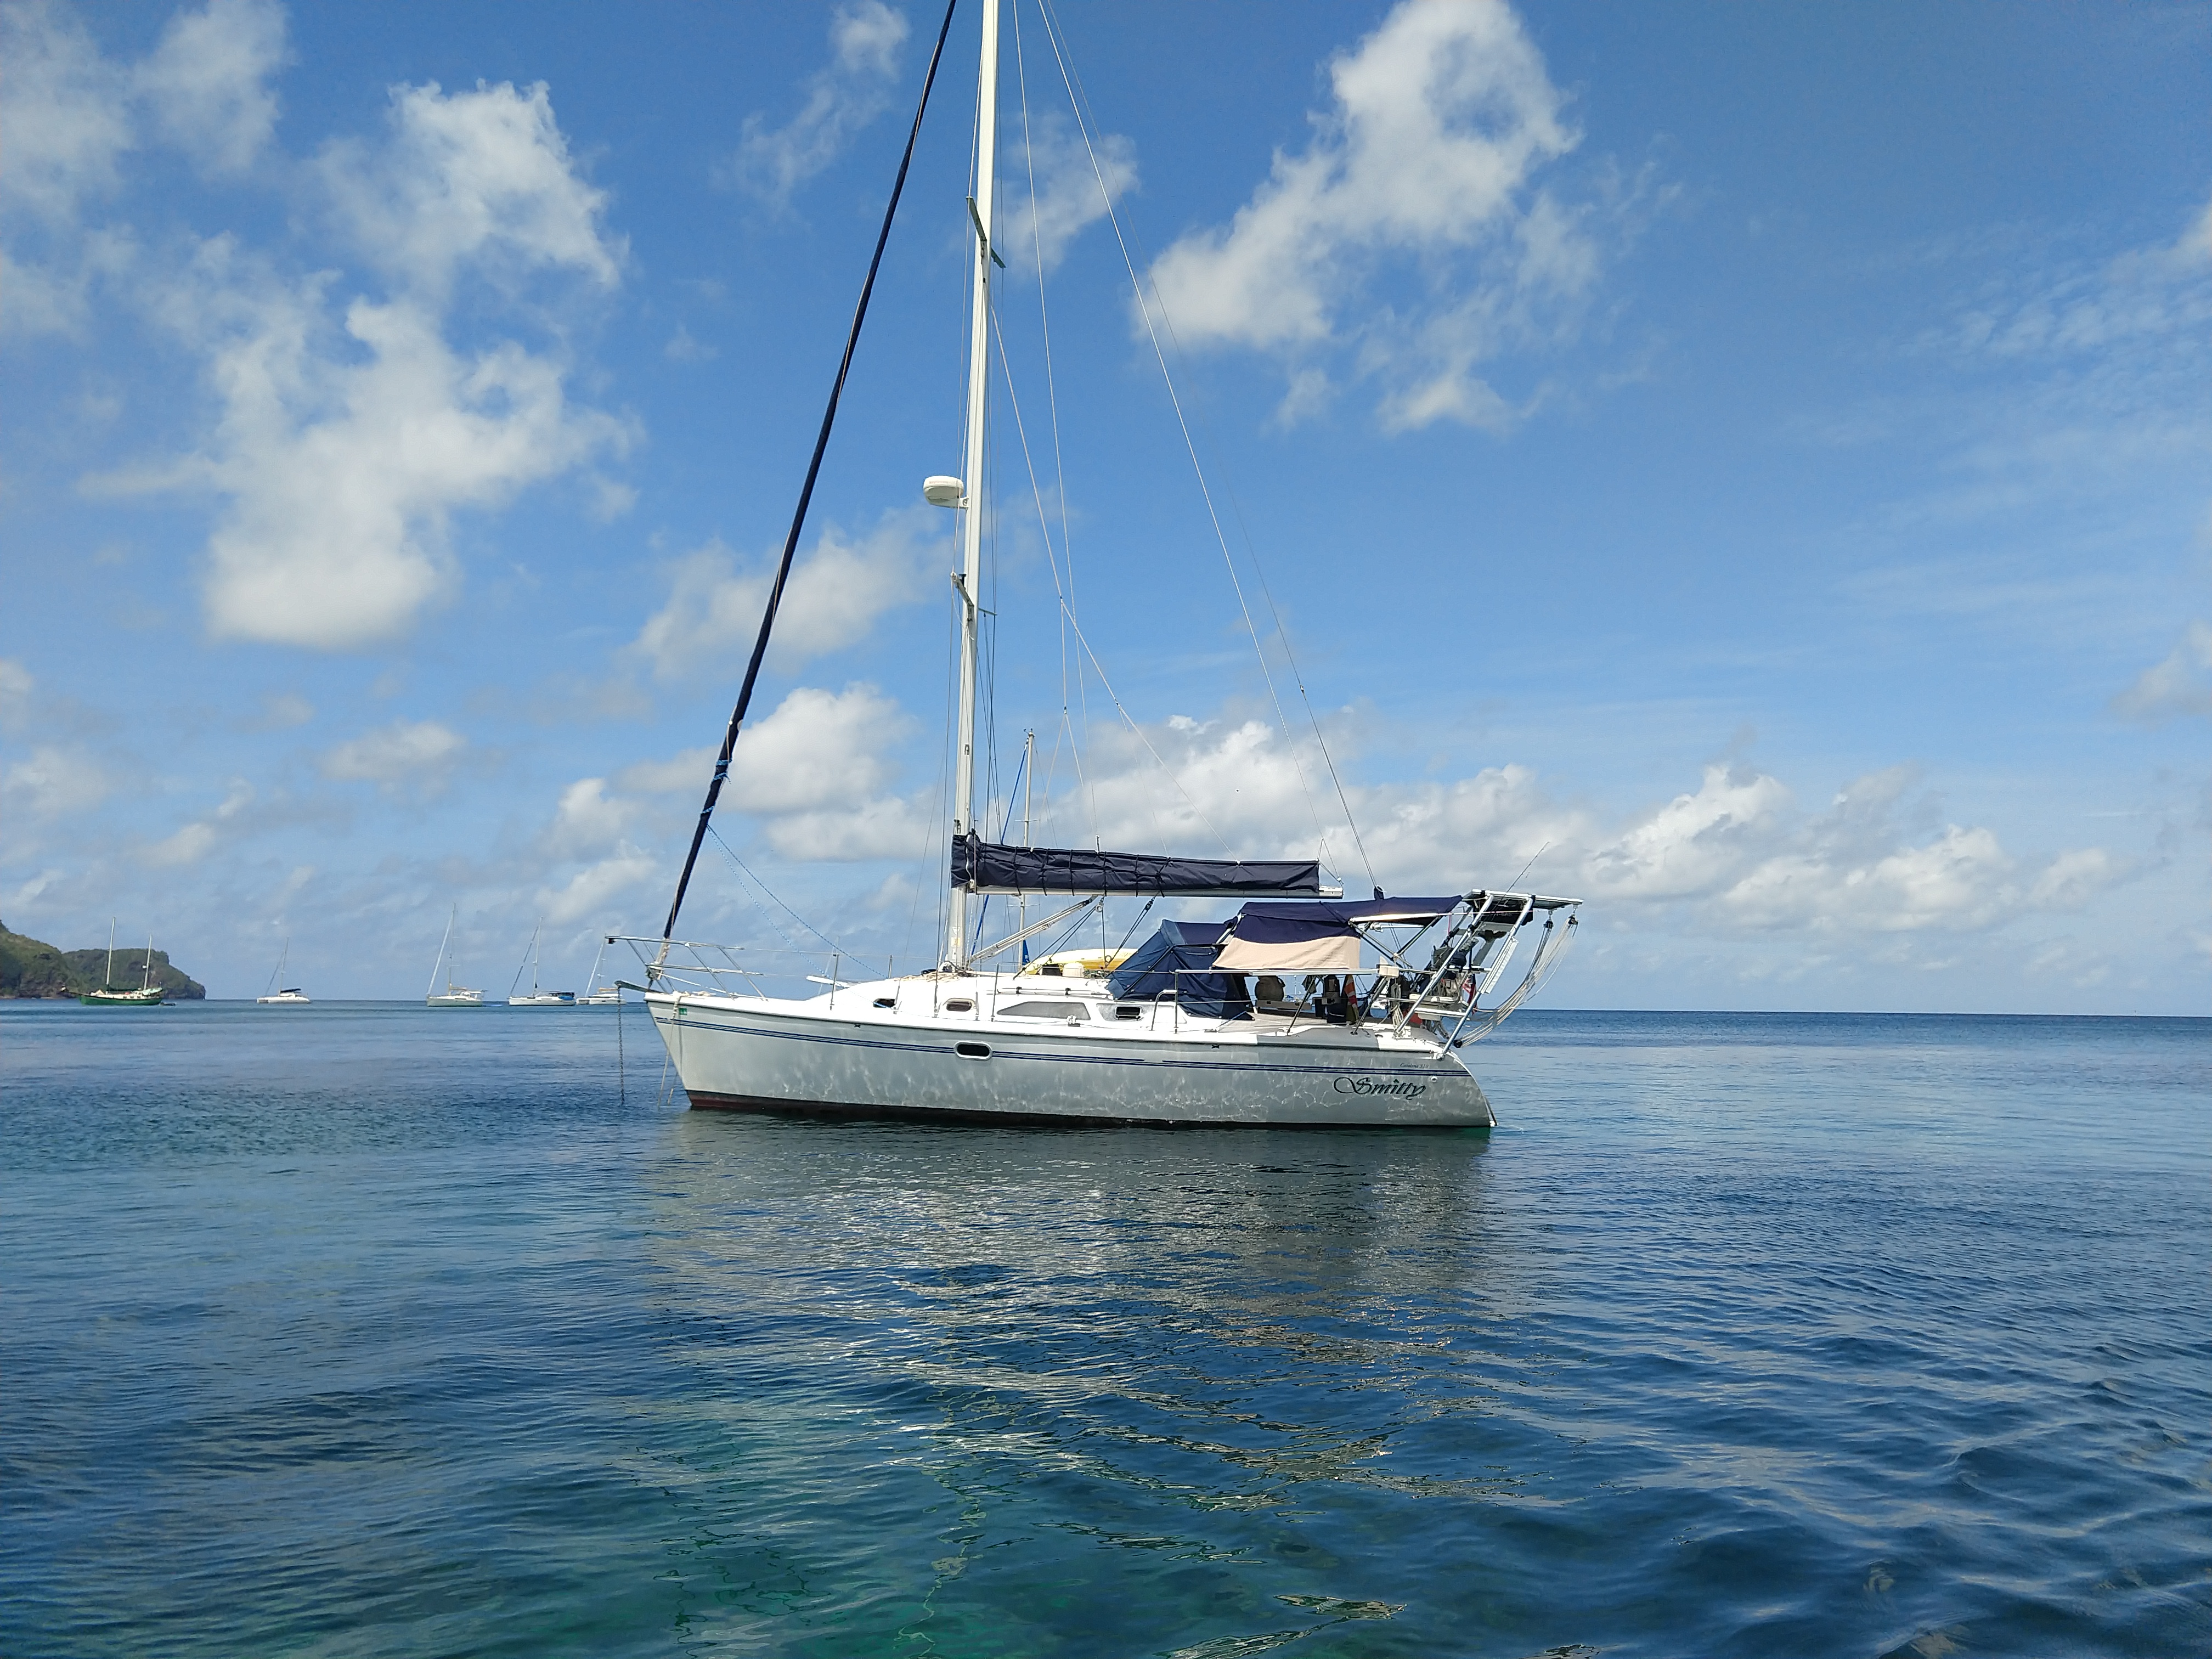
I sit here this Sunday morning doing the same thing that I do every Sunday morning: enjoying coffee in the cockpit of Smitty, listening to Acoustic Sunrise on the Boston radio station Mix 104.1 (thank you magical internet), and feeling blessed to be in yet another beautiful anchorage in the Caribbean. Today, however, instead of my usual Sunday Funday Care-Free attitude, I am very worried about the future.

My worry is the same as yours, the Coronavirus and its impact on the world. We are in Antigua, where their first case of the virus has now been confirmed. Just about every island in the Eastern Caribbean (the area of which we currently are cruising) have been affected.  Most countries have put travel restrictions in place, including not allowing travelers from high-risk countries. As the USA is now considered high-risk, what does this mean for us? We don’t know. Our cruising permit in Antigua & Barbuda expires in a week, since we have been in this country for almost two months, we are pretty confident we can get another month approved, but then we would have to leave the country by the end of April, as our immigration approvals are only good for 90-days from initial arrival. Then what? Where do we go? These are our hourly discussions.

The good news is that we live on a boat and have a different mindset then most people. We have weathered severe storms (two category 5 Hurricanes) in the Caribbean and are well aware that you always need to be prepared.  We have enough non-perishable food to last at least a couple months, a water maker, extra fuel, plenty of wine (thank you very much French Islands) and, of course, the Rum Tank! And yes, we already have all that stuff that people have gone crazy buying and are hoarding: hand sanitizer, toilet paper, bleach, Clorox wipes, medical-grade face masks, two half-face respirators and one full-face respirator, with appropriate filter cartridges….Now that I have just typed all that I am thinking maybe we should be selling Smitty with all this stuff on her…she’s a gold mine!  Didn’t I just read about a Canadian couple that made $70k from selling Clorox wipes at an exorbitant price?

We came to Antigua specifically for the Classic Yacht Race, which I have always wanted to see, which of course, has just been cancelled. Most islands are starting to cancel all large events as well as closing restaurants/bars. For how long? No-one knows.

So, do we stop cruising for now and go back to the USVI? I don’t know.

What I do know is our plans for today:  make blueberry pancakes, continue to obsessively read every update and contemplate our plans, and, rum drinks on the beach while soaking up the Caribbean sun and social distancing ourselves from others (except Kevin & Cheryl on sv Leaf Nu, they have been deemed safe) –  that should brighten my mood! 

Stay Healthy All and try to have a Happy Sunday-Funday!


1 Comment

Quick, simple fuel polisher

We have been struggling with fuel issues since getting bad fuel running from Irma and Maria in 2017. The biggest problem is that Catalina did not install any inspection ports in the the fuel tank. To effectively clean the tank you need to access both sides of the baffle. Because the tank is installed under the sugar scoop you need to remove the tank to install clean outs. And why remove a 20 year old metal tank and re-install it, it might be better to get a new tank. That’s a job better suited to when we are stopped to work again. So I’m stuck trying to figure out the best way to keep the motor going for the next year or two.

I have decided my best option is install a fuel polishing system I can use regularly. Especially under sail in rough conditions when stuff get stirred up.

Some of these modifications would be slightly different on a stock motor with the Facet lift pump and Racor R20 primary filter. But the concept would still work.

We have a Racor 500 as our primary fuel filter and a Walbro FRB-8 fuel pump mounted on the bulkhead. We run a 10 micron filter element in the Racor 500. The on engine fuel filter is a 2 micron. The Walbro isn’t cheap but I had gotten frustrated with the poor quality of the cheap $35 automotive lift pumps. Since I was going to spend some real money on the fuel lift pump I researched options. The Walbro is larger than the factory Facet cube style pump. But it is also rebuildable in the field. A new Facet would have cost $80, the Walpro was $150. The Facet delivers fuel at about 7 gph, the Walbro varies on demand up to 40 gph. I did have the idea of building a polisher in mind when I made the decision to go with the Walbro.

To make the polisher I installed a three-way valve on the effluent of the Walbro pump. One direction goes to the supply for the on engine filter. The other direction is hard plumbed to a T fitting. One side of the T fitting goes to the return line to the tank. The other side of the T fitting goes to return coming from the engine.

IMG_20200131_130957210.jpg
IMG_20200202_121953512.jpg

When the three-way valve is turned to the engine fuel goes from the pump, to the one engine filter and then on to the high pressure pump and injectors. The return fuel goes to the T fitting and then on to the return line to the tank. When I select the polish position, the fuel goes from the pump directly to the return line to the tank.

The factory power setup for the pump is a quick disconnect tied to the solenoid switch. This is why you can push the key forward to activate the fuel pump as part of the self-priming system. On the pump side of the quick connect I added a second wire going to a switch. The other side of the switch is connected to my positive buss in the battery compartment with a fuse in line. If you turn on the switch, the fuel pump is activated. This is great for priming filters after changes. But it does active the solenoid switch and therefore activates the preheat circuit, you wouldn’t want to leave this on for long polishing efforts. But disconnecting the quick connect eliminates the preheat circuit. You could also add a second switch to shut off the preheat circuit. I did take a unused heat shrink quick disconnect end, put some wire insulation in the crimp end, crimped and shrunk it. Now it works as a cap to eliminate accidentally groundings to the engine.

So to activate the polisher you turn the selector valve to polish, disconnect the quick connect and flip the switch. It can run for hours polishing the fuel and returning it to the tank. Not a perfect system but good.

IMG_20200202_121957922.jpg

The next step will be to add a 2 micron filter somewhere on the return line, likely with a bypass loop so that returned fuel from the engine isn’t going through it.

Before I started building the system I shocked the tank with a double treatment of Biobor JF fuel treatment. I then ran the polisher for 20 hours in three sessions. The fuel looked clean and there was some definite build up in the bowl of the filter. I then switched to a 2 micron filter and ran it for another 8 hours (not advised for the Facet pump). Following that I did another treatment of the Biobor JF and a treatment of Starbrite Diesel Watersorb. I have now been running the polisher again for 2 hours. The fuel is now cloudy. Hopefully this clears up after several hours of polishing.

IMG_20200202_131011605.jpg

After the fuel clears up, I will change the filter back to a 10 micron and drain the sediment out of the bowl. Then it will be time to go for a sail in hopefully 6-8 foot seas to run the polisher while getting knocked around a bit.

I also need to break out the label maker and clean this up a bit.


1 Comment

Deshaies: Gardens and Waterfalls

After staying in St.Barts longer then anticipated, we found the best 24-hour weather window we could manage and made a dash to get to Guadeloupe (the island in the Caribbean, not the town in Mexico of the same name). The sail ended up being a bit more sporty then expected so we decided to take a more scenic route in order to be in the lee (less wind and waves) of the islands of St.Kitts, Nevis, and Montserrat. We did see lots of dolphins and a whale, so that helped make the journey more enjoyable!

Guadeloupe is nicknamed the “The Butterfly Island,” due to its shape. The island is divided in the middle by a narrow river, Rivière Salée. The west-wing of the butterfly is Basse-Terre and the east-wing is Grande-Terre. We decided that our first stop in Guadeloupe would be the little town of Deshaies (“Dey Hay”) located in the northwest corner of the west-wing.

map of gwada

The main attraction in this area, as recommended by several guidebooks and other cruisers, is the Botanical Garden.  Upon further research, I learned that you can climb up the steep hill from the town or you can get picked up by the free shuttle, which of course we chose the shuttle route. Putting my best French forward (which is very, very little), I called and requested a pick-up. After about 45-minutes of walking around looking for our ride, I finally found the bus. Pleased with myself, I stepped onto the bus to confirm with the driver that he will be taking our group up the hill to the garden.  Well, my satisfaction was short-lived.  Between hand signals, broken French/English, and Google translate, I learned that this is a public bus that is currently on break and does not go to the garden.  However, the driver took pity on me and yelled to the group to all hop aboard. This very nice man gave us a ride to the Garden, he wouldn’t let us pay him anything!

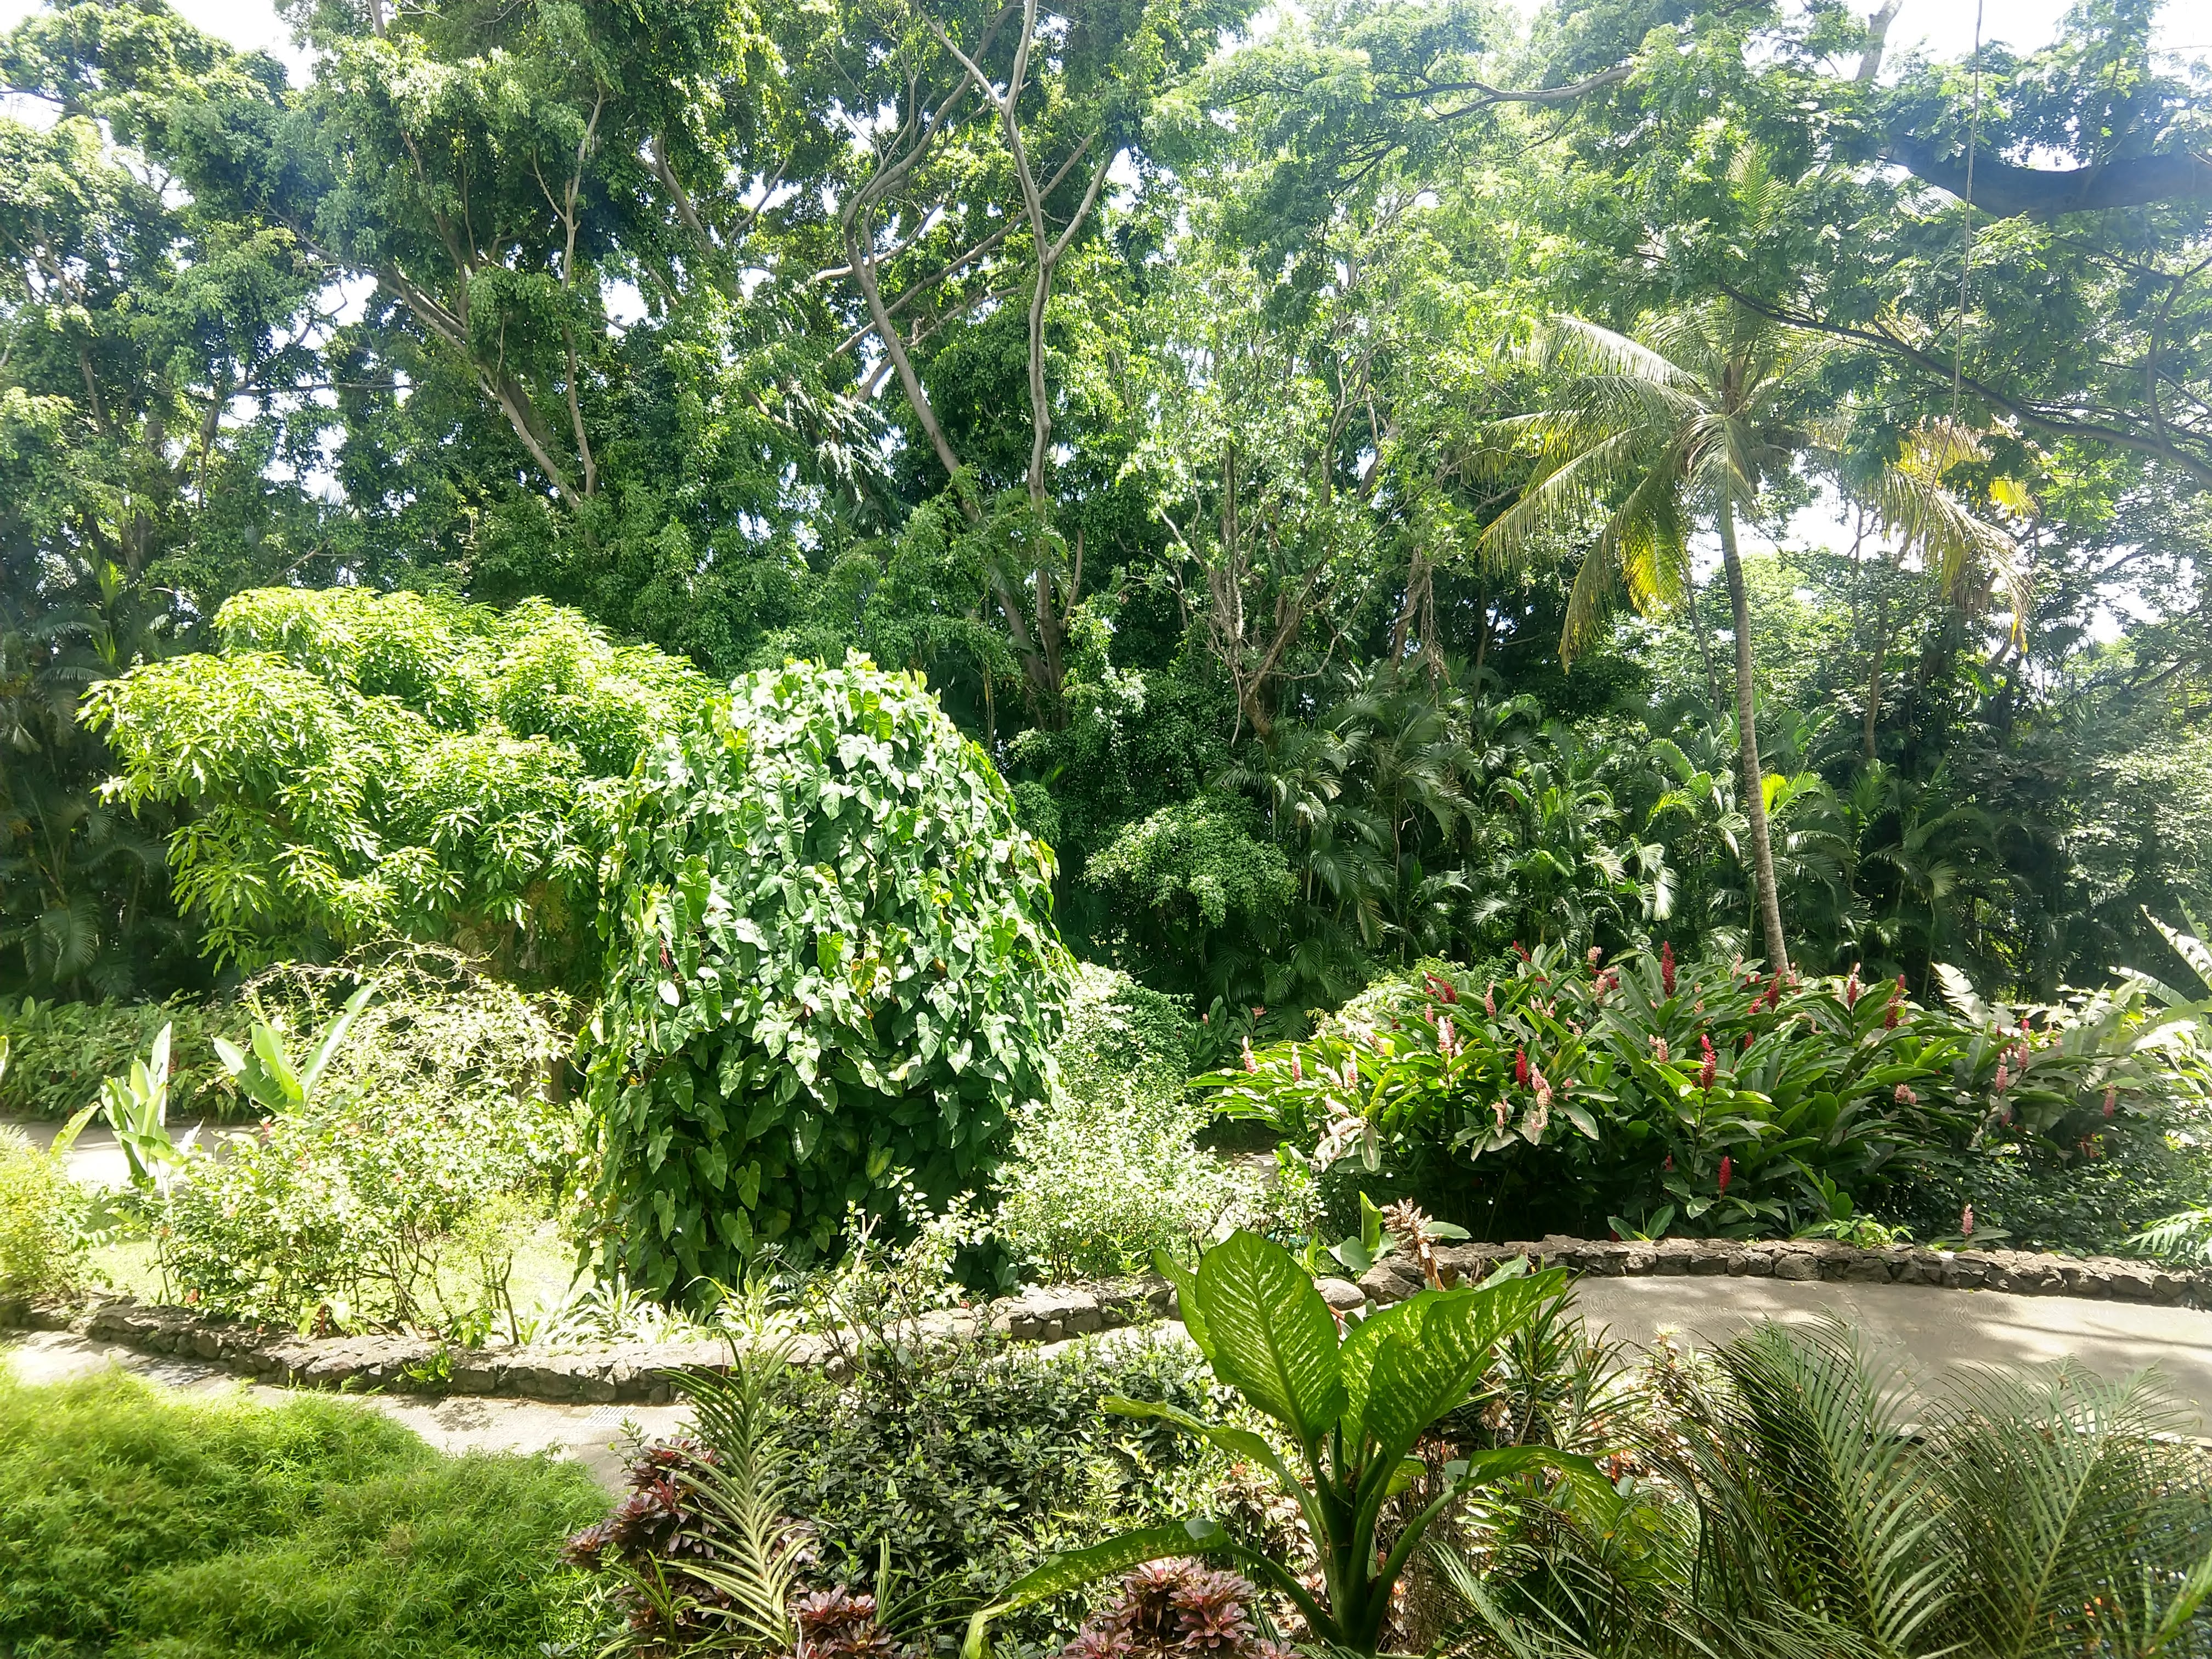
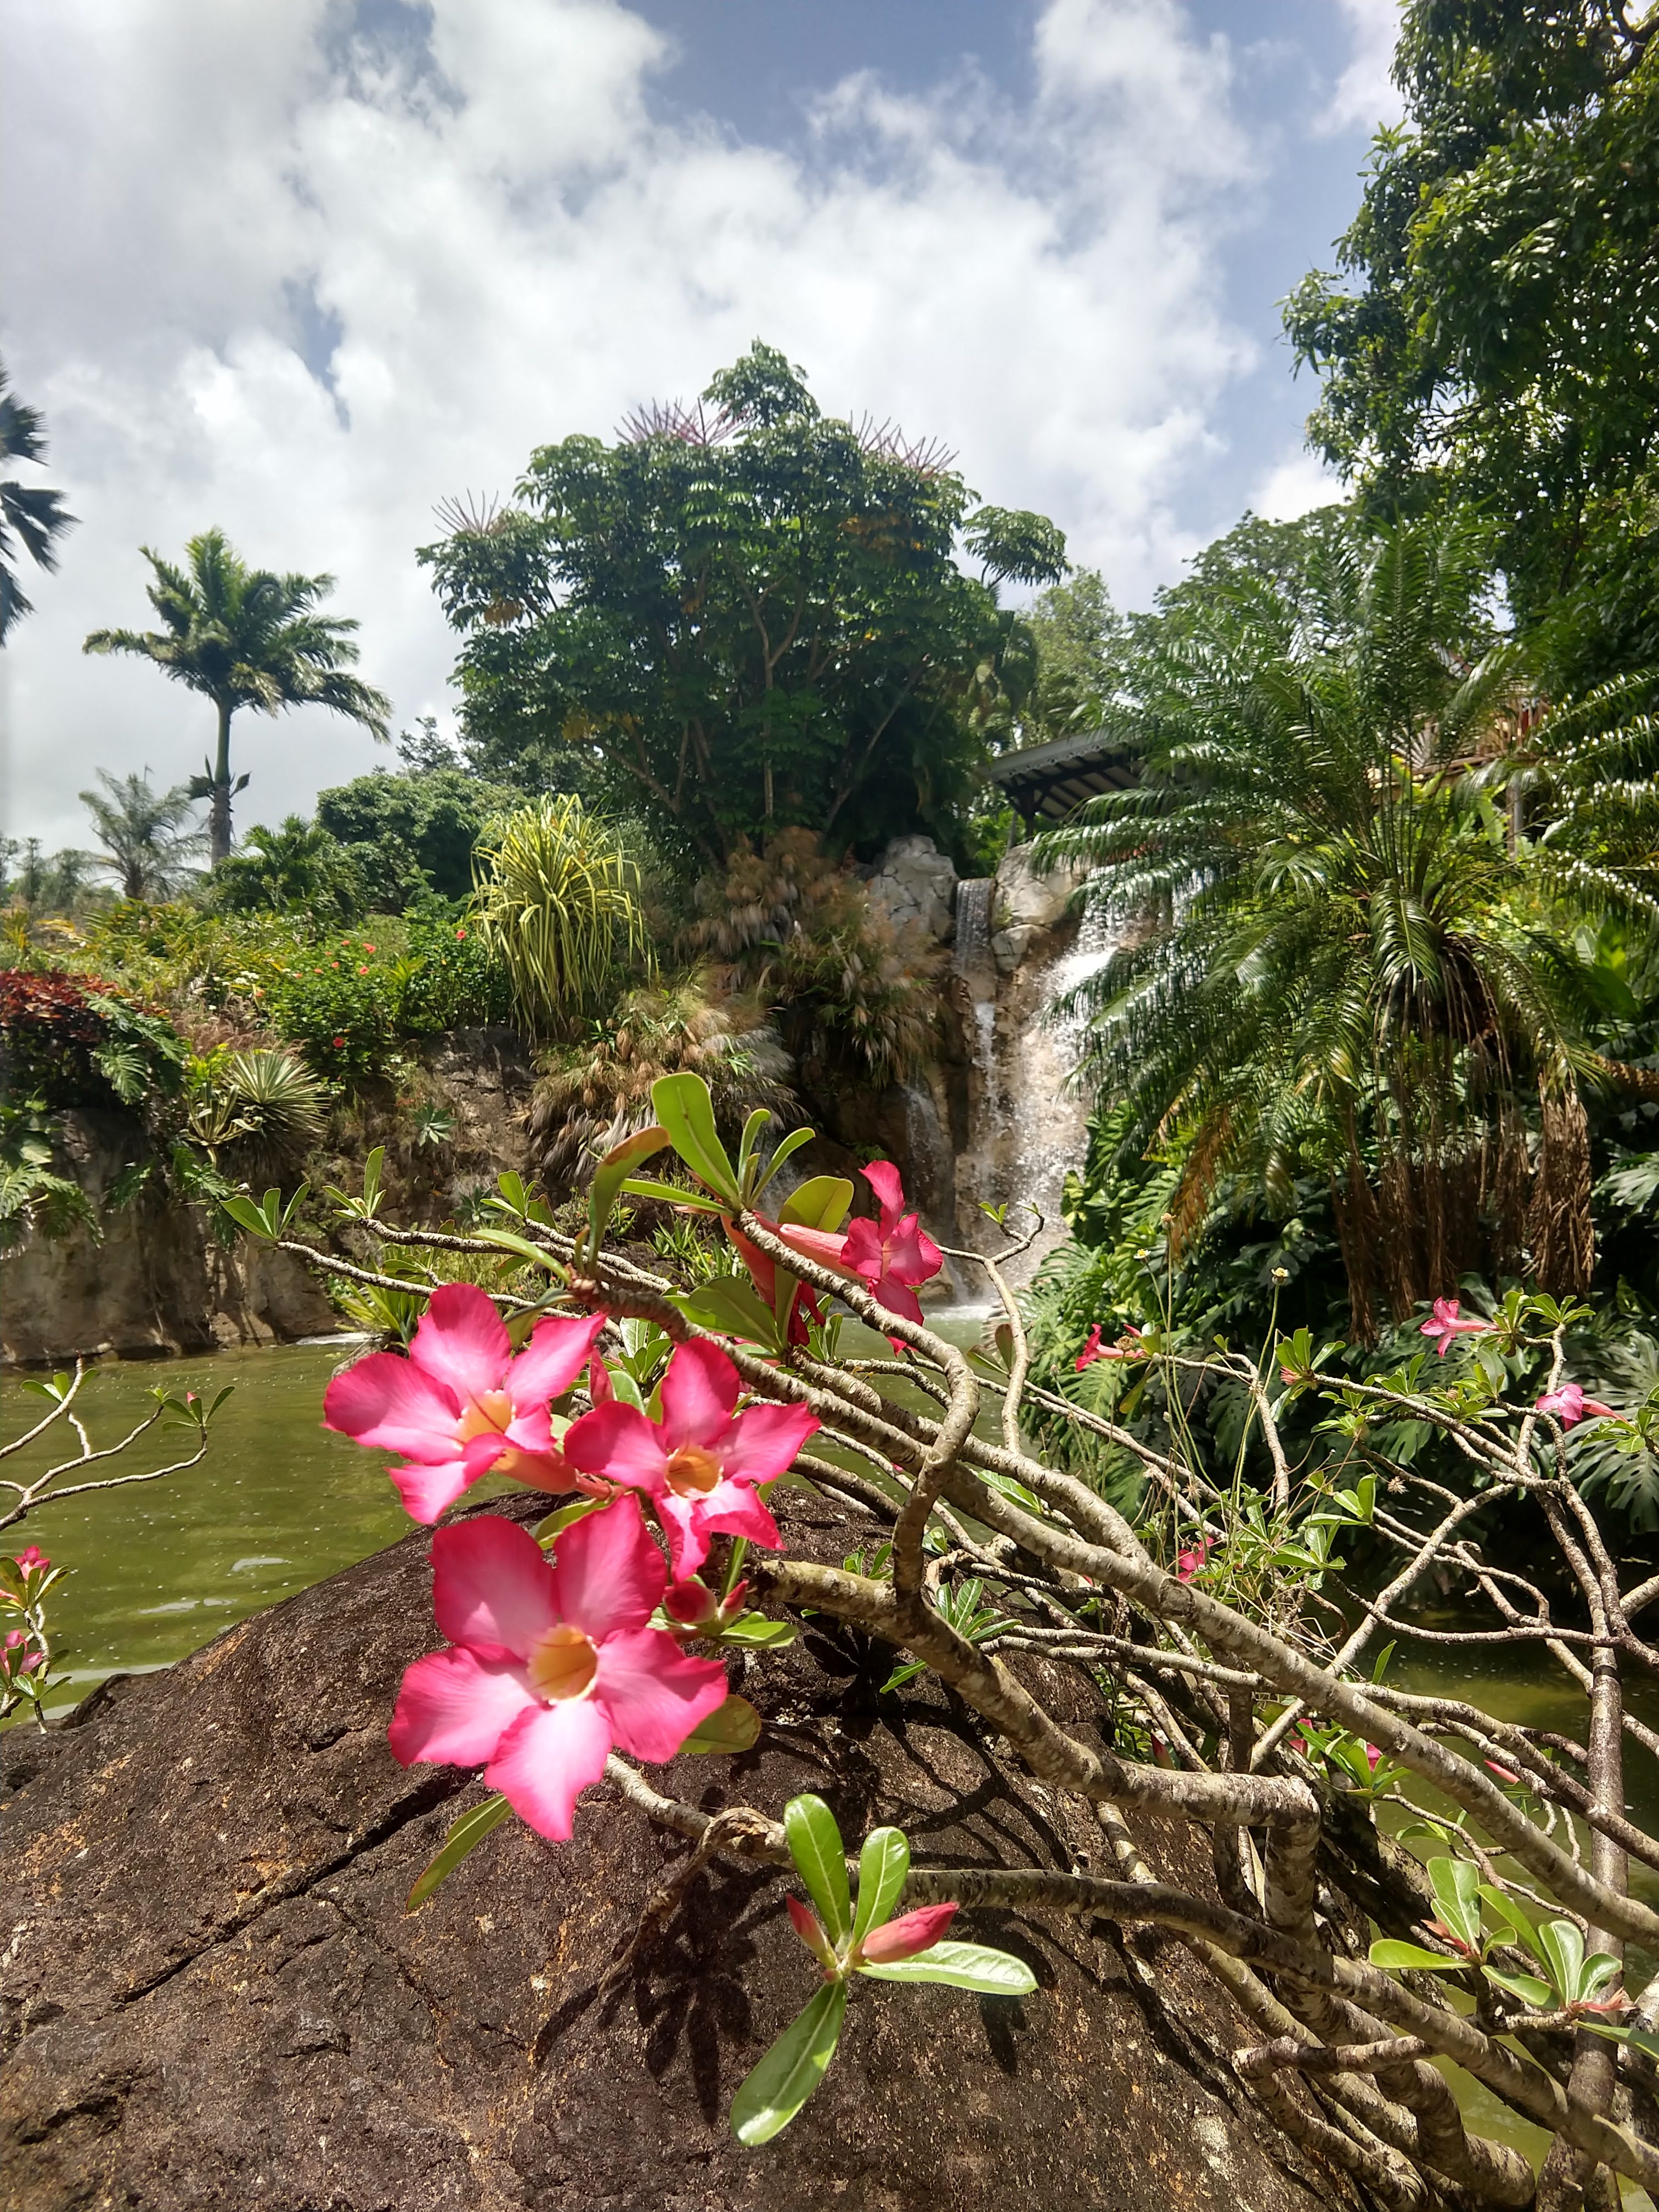
The Deshaies Botanical Garden is located on a 7-hectare property that belonged to the French comedian Coluche. Michel Gaillard, a nursery gardener, friend of Coluche, opened a palm tree nursery in Guadeloupe to supply his Paris-based company. In 1985 Coluche asked Michel Gaillard to look after and maintain his property in exchange for land to create his nursery. Unfortunately Coluche died a year later. Thanks to his knowledge of the property, Michel Gaillard bought it in 1991 and took many years to turn it into the magical garden that is visited today.

garden map

pathway 2

flower and waterfall

flower with bee

tree

giant tree 2

giant palm

parrot

view from the garden 2

We also hiked up the Deshaies River to the waterfall. Described in a cruising guide as “a five-year-old hiked here for two hours without problem”; well, after hiking all day, climbing over boulders and pulling ourselves up very muddy terrain, I call BullShit on this description!  What should have been a couple of hour hike took our group of five all day and we never found what any of us deemed to be any sort of worthy waterfall.  At least the foliage along the way was pretty.

bouldering 5

bouldering 2

Kevin contemplating how to proceed

the gang

Well deserved drinks after our hike. Left to right: Stacey on sv Smitty, Peggy, Kevin, and Teddy on sv Asante.

Smitty in Deshaies (1)

Information for Cruisers traveling to Deshaies, Guadeloupe (as of January 2020):

  •  Moorings are Free but almost all are taken by local boats that leave a dinghy to reserve their spot when they leave. Hope for a mooring but plan to anchor in 30+ feet of water behind the moorings.  Leave plenty of scope as you will spin 360.
  • Check in/out can be completed at the Police Station for free.  Use the computer in the hallway then see the front desk clerk with all paperwork. The Police Station Opens at 7:30 each weekday; closes midday for lunch then opens again in the afternoon, closed by 5.
  • Bringing a pet? No Problem.  Be sure all paperwork is up-to-date, thats it! This French Island has no additional fees and does not require any special vet exams in order to import your pet. 


Leave a comment

A Different Setup for a Mainsail Pack

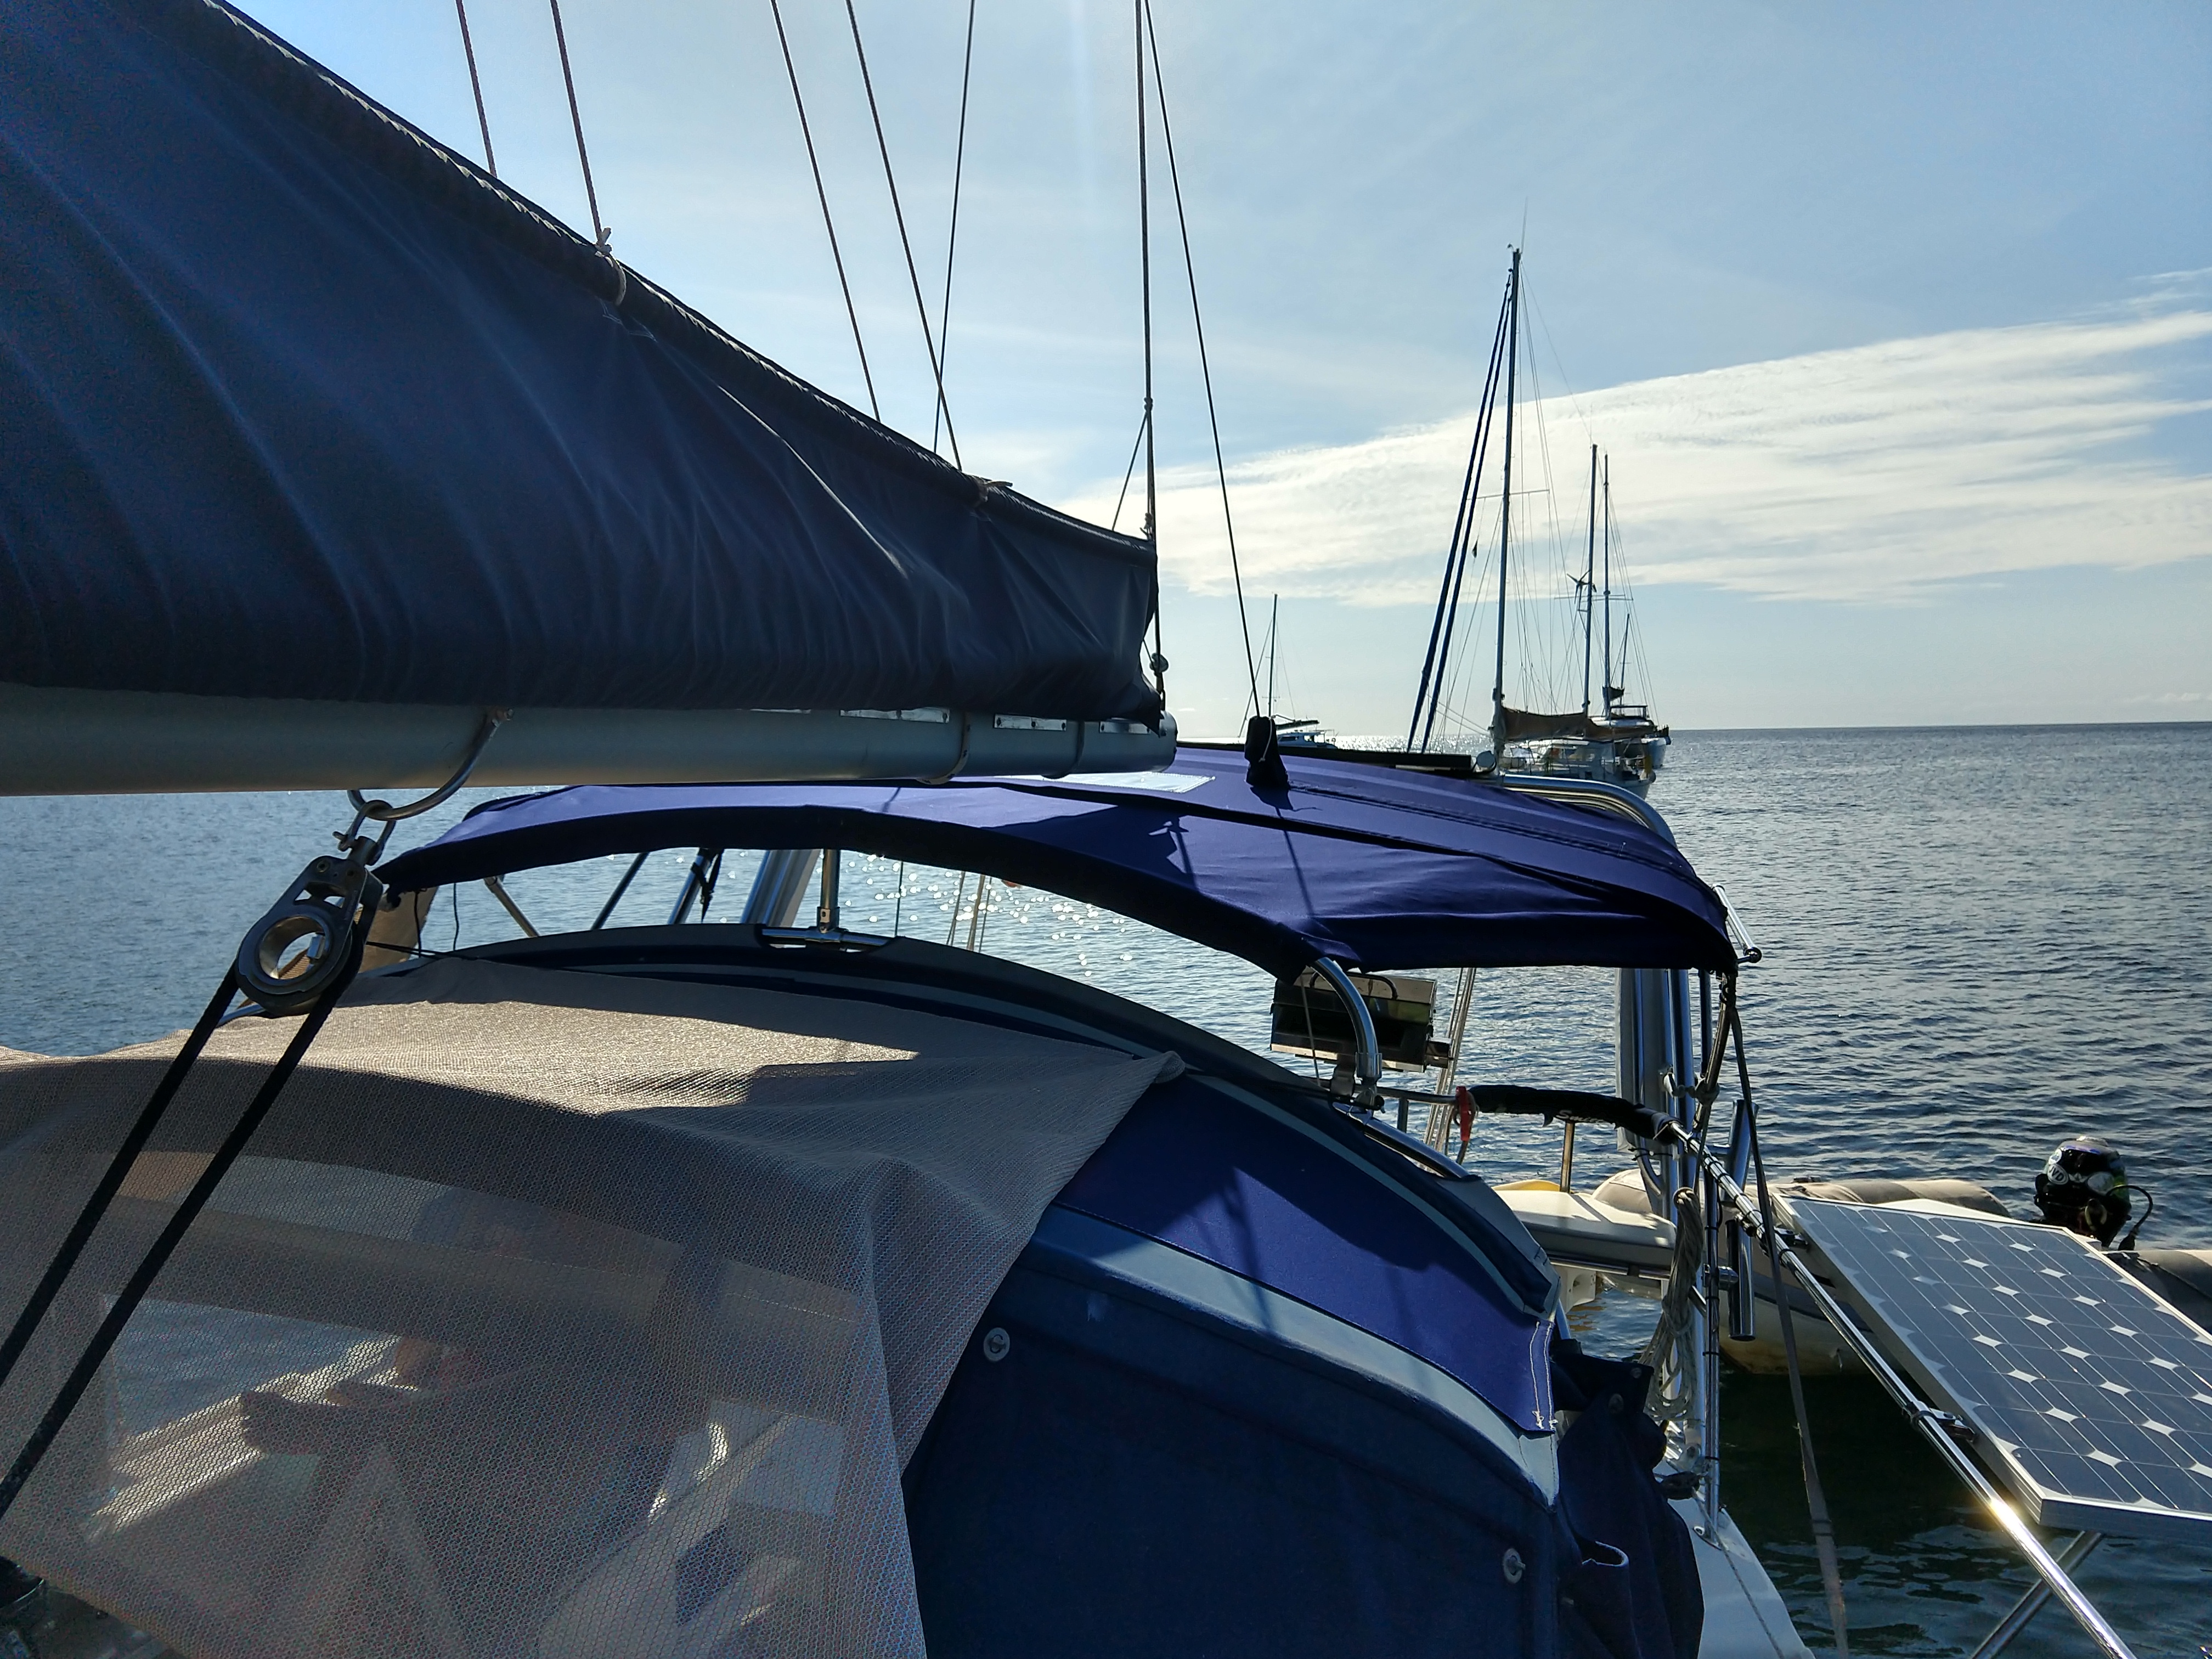
The Dutchman System that is standard equipment on C310s with traditional mainsails is a decent setup for sail flaking. But it still requires someone to be at the mast to flake the sail properly or it will sit too high for the sail cover. It can also be tough to adjust properly so it doesn’t interfere with the sail shape but also holds the sail on the top of the boom.

For cruising, a mainsail pack is the preferred solution for mainsail dropping and covering. However, we have a footed mainsail. Most of the packs join under a loose footed mainsail with snaps. We like a footed mainsail for cruising and didn’t want to loose that as an option. In one discussion on Sailboat Owners’ Forum, someone posted this photo of a mainsail pack that doesn’t go under a loose footed mainsail.

Tracks

I scoured the internet but couldn’t find anyone making a system similar to the photo. I talked to several canvas shops and none had ever make a pack in this manner.  So this was going to require some or all DIY.

After talking to several friends we found Lee Sail Covers. Its a small company in Ohio that does various canvas work including making mainsail packs similar to the Sailrite system. They use WeatherMax80 fabric for their packs and it was a reasonable $440 for the completed pack.  However, she had never heard of a system like we were doing. So we did the measurements (note: give yourself an extra 6-12 inches at the mast to allow for the height of the headboard on the sail) and had her make a pack that was left unfinished with no snaps on the bottom. We went with the 4 line attachment option.

From there we went to the Sailrite website and ordered some luff tape and aluminum awing trackthat fits 5/16-inch luff tape. When the pack arrived we sewed the tape onto the bottom of each side. This was all the easy part of of the project.

Next we needed to add two blocks to the mast (HARKEN 29MM CARBO CHEEK). I decided to install them just below the top spreaders. Our friend Jaime assisted with this greatly. I hoisted her up the mast and she drilled and tapped the mast to install the two blocks. I then drilled and tapped the mast for two cam cleats (RONS MEDIUM C CLEAT CAM CLEAT) to secure the lines. I used the plastic cam clean bases and sanded them to match the curve of the mast. Tef-Gel was used on each stainless steel machine screw. Note: I plan to add to fairleads where the lazy jack lines go past the bottom spreaders.  

With the Sailrite style packs, 3/4 inch PVC pipe is used to stiffen the length of the pack. Our length was 13.5 feet. According to some friends that have used the system, using two pipes joined with a coupling creates a chaff point that damages the pack. So we had to go to a plumbing supply house and get 20 foot lengths of the PVC pipe. We also decided to get schedule 80 pipe as it has thicker walls and is stiffer.

To attach the aluminum awing tracks to the boom, we used #10 stainless steel machine screws every 8 inches. We drilled and tapped the boom. We used Tea-Gel on each screw to protect against galvanic corrosion between the aluminum and stainless steel. The track comes in 48-inch sections. We left gaps for drainage and reef lines at given spots.

IMG_20191017_113037209_HDR

IMG_20190913_155151486_HDR

For the lazy jack lines we used 3/16-inch Sampson Yacht Braid. Instead of splicing the stainless thimbles into the line I tied constrictor knots and finished with heat shrink (this was an experiment for the dynema lifeline project that was to come). We added a couple of short loops of paracord to the pack for securing the main halyard while anchored.

IMG_20191017_113045336_HDR

After we installed the pack, we did some shakedown sails. One problem we had was the pack wanted to move forward. To address this we added two grommets to the rear of the pack and tied a small line to the topping lift to keep it pulled back.

img_20191017_113040771_hdr.jpg

We have now sailed over 1,000 nautical miles with this setup and love the upgrade. With the full mainsail up, we can drop the halyard from the cockpit and sail goes 95 percent of the way down and sits in the pack. When we get into port, we put the sail down the rest of the way and zip the pack close.

One issue we have is that sailing in the Caribbean trade winds, we seldom have full mainsail up. When we drop the reefed mainsail it doesn’t have enough weight to pull the sail down. We are working to configure a down-haul to allow the dropping of the mainsail from the cockpit when reefed.

We also plan to add mast gates to allow the mainsail to drop closer to the boom.


3 Comments

Autour du Rocher – St.Barts

Saint Barthélemy (often abbreviated as St-Barth in French and St. Barths or St. Barts in English)

Long before Kenny Chesney popularized drinking on Jost Van Dyke, there was the original guy that sang about sailing and partying in the Caribbean, Jimmy Buffett.

Being that we are Parrot Heads (fans of Jimmy Buffett and the Coral Reefer Band), we have gone to many concerts and have been inspired by Jimmy Buffett’s lyrics that entice listeners to sail away to the islands in search of that One Particular Harbor and to have a Cheeseburger in Paradise with a good, cold beer.  All that being said, the island of St.Barts is one of Jimmy Buffett’s favorite hang outs and where some of his most legendary songs were inspired, so we had to check out this rock!

LeSelect Bar

IMG_20190609_164547572_HDR.jpg

cocnut telegraph
…Baby put it on the coconut telegraph (telegraph)…In twenty-five words or less ~Jimmy Buffett – Coconut Telegraph
coconut telegraph 3
…You can hear ’em on the coconut telegraph (telegraph)….Sayin’ who did dis and dat  ~Jimmy Buffett – Coconut Telegraph

street view

The anchorage we stayed in, Anse du Colombiar, just north of the main city of Gustavia, is beautiful. There were more turtles in this one bay then I have ever seen in one place (which, of course, I didn’t get any good pictures of). The beach is a perfect soft, white sand and has a couple of small natural pools.   There is a spot on the beach with a rock wall that blocked the east wind that was coming across the peninsula off the Atlantic Ocean and was a great spot for a beach fire.

The hiking was easy with very pretty views, as well as many goats and tortoises.

walks5

walks3

View of the Atlantic Ocean side of St.Barts and the trail to hike to the other beach.


sunset from beach
…Listen to the night birds cry…Sit and watch the sunset die…Well I hope you understand I just had to go back to the island ~Jimmy Buffett – Back to the Island
I Love Saba


1 Comment

Walking on Clouds: Saba

Located just 50 miles southwest of St.Maarten is the volcanic island of Saba. Although this little island is only five square miles it rises to an amazing height of about 3,100 feet, making it the highest elevation in all of the Netherlands Kingdom. The entire island is steep and you will not find a flat road or sandy beach. But the views are just breathtaking!

The Ladder.jpg

The Ladder                                                                                                                                                    Before the harbor was build the only way to get cargo to and from shore was via “The Ladder” which consists of 800 steps that were cut into the steep rock wall.

The best way to see this island is to take a tour and hike. So we hopped a cab and headed up the steep island to The Bottom, the island’s capital.  

welcome.jpg

The Bottom.JPG

The Bottom

Hells Gate plague

Hells Gate

airport

Looking down to see the airport runway.

However, the most spectacular views on the island have to be earned by climbing to the top of Mt.Scenery. The hike includes 1,064 steps and then climbing over some large boulders.  The climb feels like you are in a fairy tale as you ascend into the clouds/mist, when a cloud passes under you get the sensation that you are walking on clouds.

mtn 1

mtn 3.JPG

mtn 7

Peggy hiked the trail in flip flops.

mtn 4.JPG

mtn 6

mtn 8

mtn 11


Pictures from around the town called The Windwardside:

Sabacover pic 2

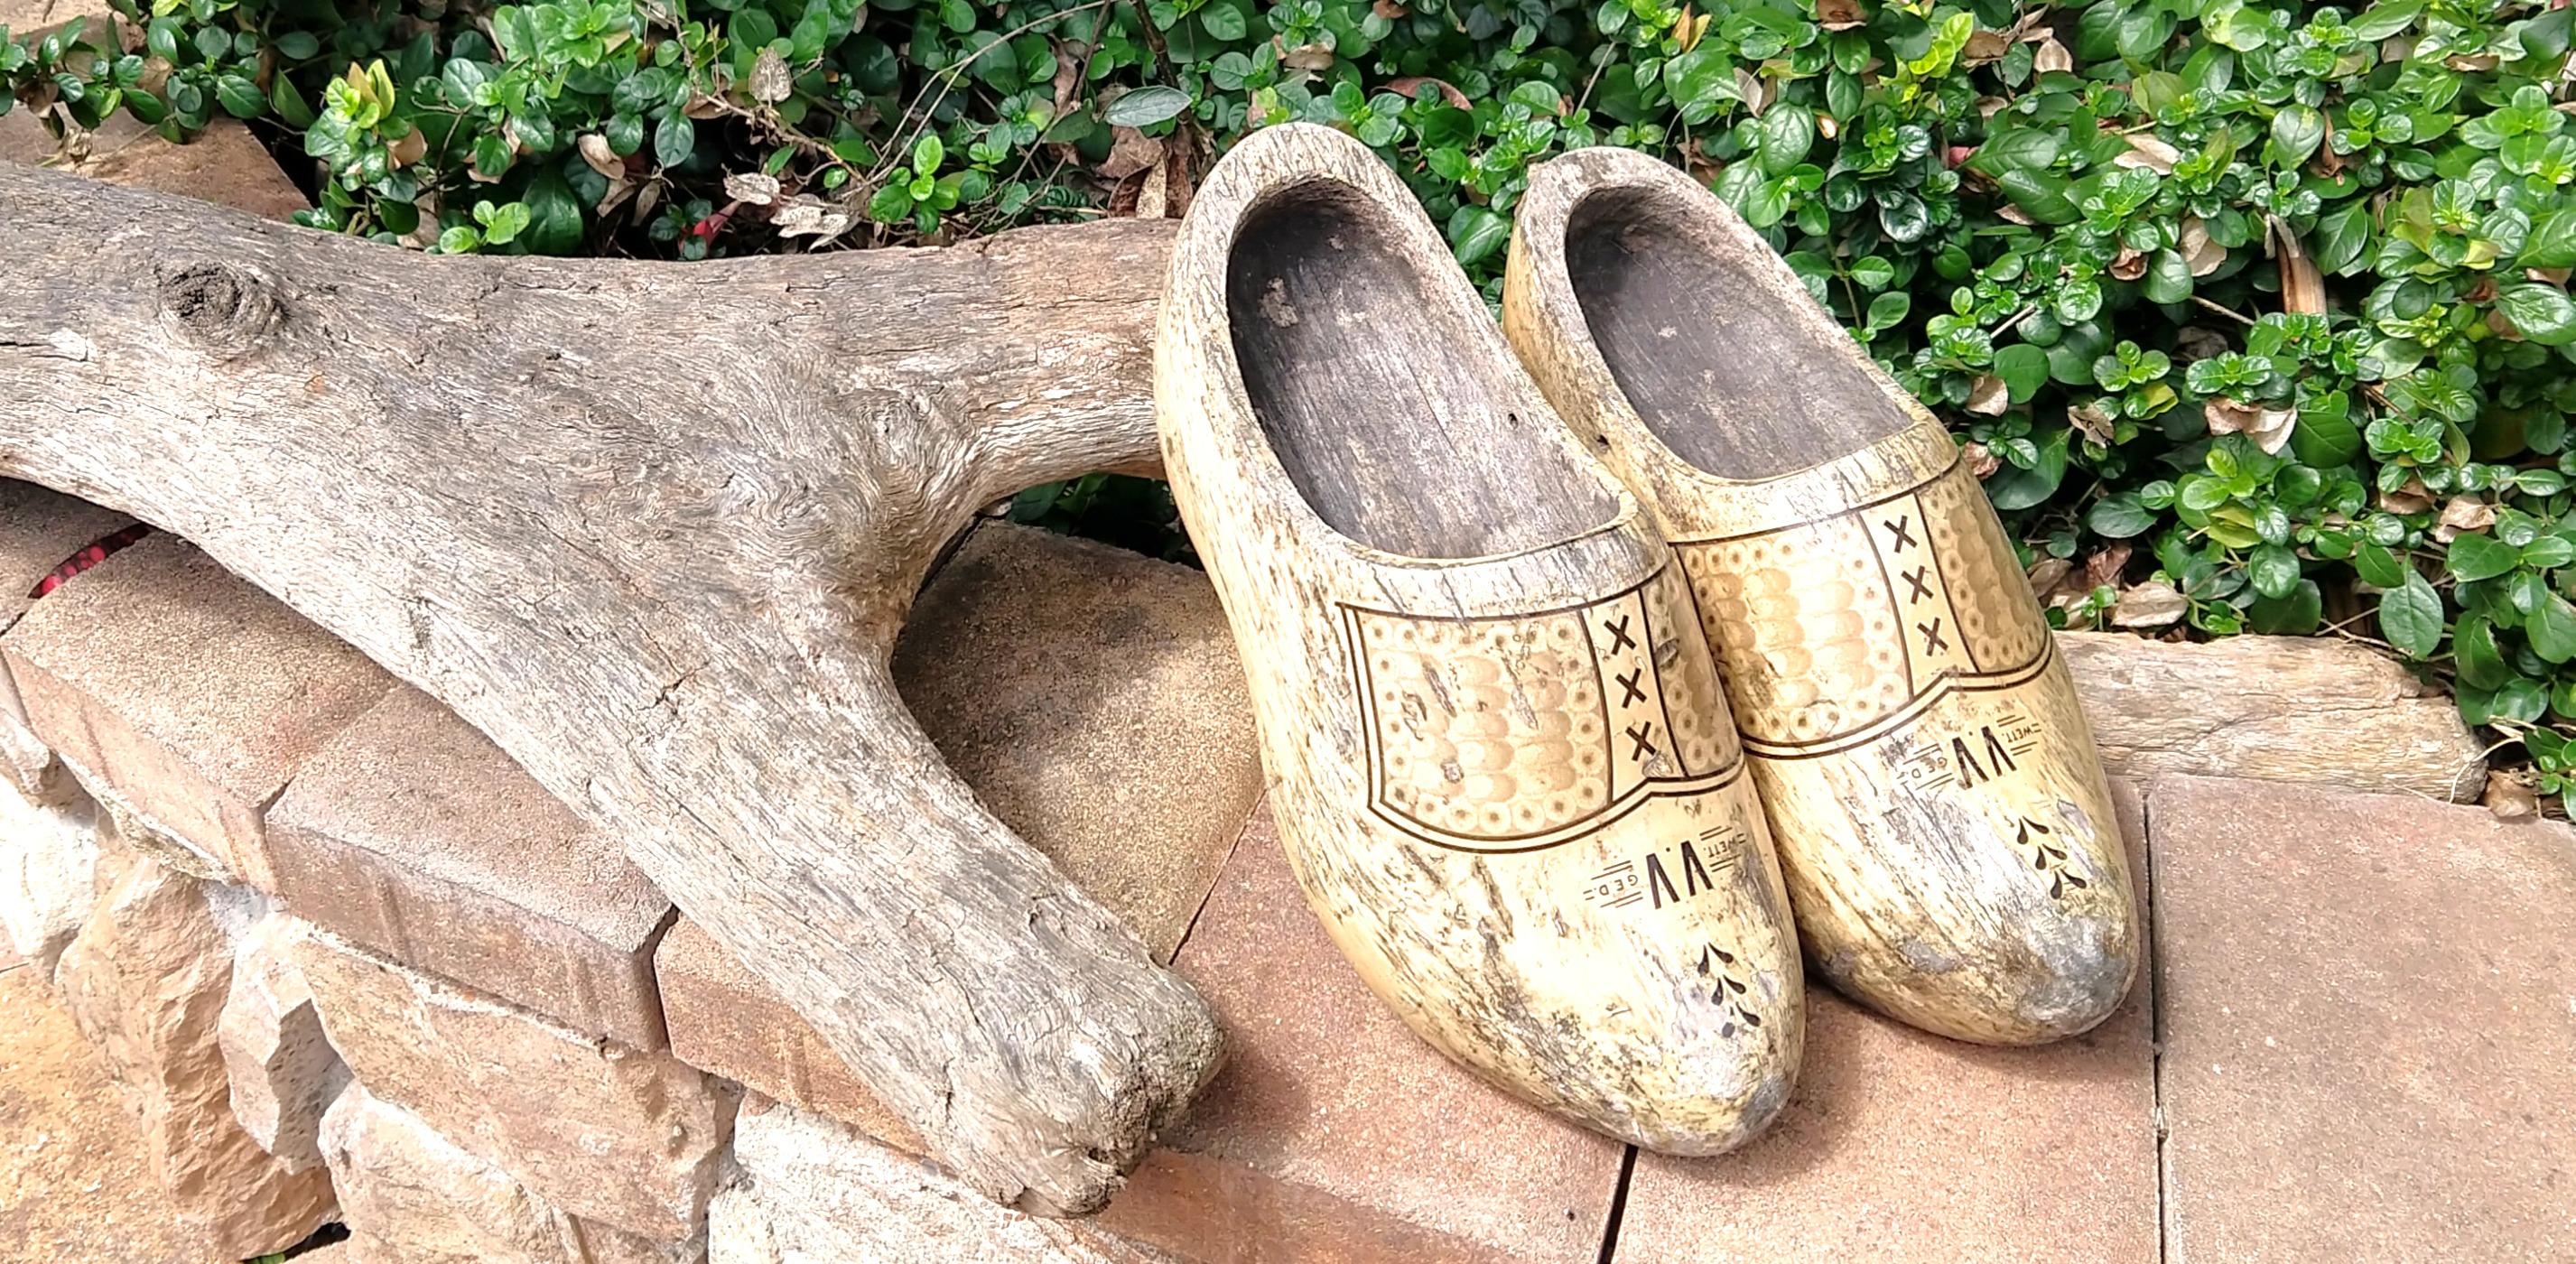
Clogs of the Netherlands

wind3wind4

wind2

All buildings on Saba must have a red roof per the law.

We ended our island tour with some sundowners and a nice sunset back on Smitty.

sunset


1 Comment

Rum Tank … and new water heater but no one cares about that

The factory 20 gallon water heater was rusting out and leaking.

To remove the tank there were a couple of obstacles. The factory had the aluminum L bracket on the port side of the heater. But the starboard side was in a slot cut in the fiberglass that makes up the shelf the refer compressor sits on. So we started with removing the L bracket and the pressure relief valve. It then took 3 people to move it over to port enough to get the bracket out of the slot. Then I had to cut some of the fiberglass from the opening. We were able to turn the heater and get it out but it took a fair amount of effort.

Once the heater was out it was easy to put the 6-gallon heater in its place. It was shorter and narrower. We used the same L bracket on the port side. Then secured the starboard side down on the platform that was made for the heater.

This left an approximately 10-inch wide area between the back of the water heater and the fiberglass shelf for compressor. We did some searching at a couple of local chandleries and found a 6 gallon water tank that was 8 inches wide and the same height as the water heater. We secured the tank down with padeyes and nylon straps.

IMG_20190926_085626715.jpg

I plumbed the tank to a small, 1 gallon per minute, 12 volt pump that I mounted on the shelf next to the compressor.

IMG_20190831_104214869.jpg


IMG_20190831_104348716.jpg

The fill for the tank is just capped off in the starboard rear laz for now. I have the tank vent and effluent hose from the pump loosely installed for now at the opening of that laz, just above the cockpit shower head. Both are capped when not filling a use bottle, the Angels already got their share they don’t get seconds. The pump is controlled by a momentary switch that is also mounted by the cockpit shower.

IMG_20190831_104209185_HDR.jpg


IMG_20190514_172702102.jpg


IMG_20190514_172631451_HDR.jpg

Now I will say that I want to install a tap at the sink labeled “RUM”. But my Bride is afraid we will drink more if it’s that easy. Probably rightly so. So instead we have a two plastic 1.75 liter bottles (one Mount Gay and one Captain Morgan. We fill the bottle from the tank and then keep them on the shelf behind the settee.

We left St. Thomas with just under two cases of Cruzan Dark Rum in the tank. It’s our go to rum and in the USVI you can get if for under $8 a liter.

Now if I could only find a deck fill labeled RUM I could really finish the installation.


Leave a comment

New Lifelines

Today I finished our new lifelines. As a quick disclaimer, we haven’t used side gates since the ICW, so this wouldn’t work for others.

IMG_20191010_103724265_HDR.jpg

Our lifelines were the original coated steel wire. They had rust spots, saged, were unsafe and unsightly. We replaced the top gate with a solid bar to assist with solar mounting. These are schedule 80 stainless steel. The stern side are secured to the old welded attachment point with a split end connection. On the gate stanchion side it’s a 90 degree elbow. I had to remove the tube going through the stanchion for the lifeline to get the elbow to fit. All set screws are aggressively spotted and secured with red loctite. The spotting was the hardest part of the project, took 2+ drill bits. In addition I put two part thickened epoxy in each fitting prior to securing the set screws.

IMG_20191010_103736878.jpg


IMG_20191010_104725956_HDR.jpg

For the life lines I used 7mm New England Ropes STS-WR2. This is dynema with a double braided UV and chafe cover. It’s designed for wire replacement for things like lifelines and rigging. It is difficult to splice because of the bonding between the core and the cover. But, unlike straight dynema, it can hold a knot. So I used constrictor knots to attached the lines to hardware and to put thimbles in for lashing. I cleaned up the bitter end and used heat shrink to cleanup the look.

IMG_20191010_103916714.jpg

Then it was just a matter of pulling the lashings tight. The first try did have too much stretch and knot creep. But I retied shorter and was able to pull it tight enough that my Bride could stand on the lifelines with minimal deflection.

IMG_20191010_103749747.jpg

Unlike other dynema lifelines we have felt, the 7mm is thick enough to feel comfortable in the hand.

This project was completed in a day but we waited another two weeks to cut the bitter ends and do the heat shrink to see if there was anymore stretch.


7 Comments

Smitty 2.0

Over the past couple years, while we were working to refill our cruising kitty by working in the Virgin Islands, we were also working to improve our boat to better fit the type of cruising we enjoy and to make her more seaworthy. During this time we even considered if we wanted to sell our beloved boat and get something larger. We looked at a couple of storm damaged boats from Irma and Maria but ultimately concluded we didn’t want to trade a cruising ready boat for a project that would require time and money that we could instead put into Smitty to make her better suited for us.

These improvements included:

  • Adding a 12 volt water maker
  • Installing solar wings to give us more power generation
  • Changing from a single solar controller, that was damaged by corrosion from sea spray thanks to Hurricane Maria, to two controllers that give us better feedback
  • Installing a high output alternator with an external regulator
  • Replacing our old and hurricane damaged electronics with new
  • Replacing our worn-out vee berth mattress
  • Removed the main hatch, bedded with butyl tape and through bolted instead of screws
  • Changing our mainsail handling from the Dutchman system to a stack pack
  • Ordering a new headsail better suited to sailing in the trade winds
  • Replacing the “Berry” our hurricane damaged stolen kayak and making a rack for it
  • Adding more chain to our anchor rhode
  • Installing an arch to hold additional solar and lift the dinghy out of the water
  • Replace our leaking water heater and install a rum tank
  • Refinishing the cockpit cushions
  • Installing a lithium ion primary battery bank and AGM reserve bank
  • Replacing fuel lines and switching to the Racor 500 filter
  • Replacing the leaking cockpit bimini and improving the connector for better shade and rain protection
  • Giving the dinghy a refit too with chaps and nonslip floor
  • Rebedding and potting all of the stanchions and rails
  • New lifelines
  • Inspecting and rebedding the chainplates
  • Laptop stand and set it up for use as a backup navigation
  • Replace the interior cushions (Soon Come)
  • Shedding extra weight to improve Smitty’s sailing characteristics
  • Tweaking the sail handling to make single handing easier

It will take us some time to get caught up on posts for all of these improvements while also posting about the places we are visiting. We won’t be putting them up in any particular order. If there is an improvement you are considering or want to know more about, please let us know. We will work on those first. We already have a request for the writeup on the stack pack conversion, so that one will be coming soon.


Leave a comment

See Ya Virgin Islands – Heading South to St.Martin/St.Maarten

After spending the last couple of years working in the Virgin Islands, surviving two Category 5 hurricanes (known as Irmaria in the Virgin Islands), and having added many upgrades to Smitty, we said see ya and headed south from St.Thomas in order to explore the rest of the Eastern Caribbean!

We sailed to St.Croix, hoping this would give us a better angle to sail to St.Martin. But alas, it was not in the cards. As usual for us, there was no sailing to be had, just choppy, confused seas. Unfortunately, due to the boat bouncing around, we had issues with our fuel filters getting plugged-up with the gunk that had gotten stirred up from the bottom of the diesel tank. The good news is, Jesse has become a pro at quickly changing the filters and we have many spares because we have run into this particular challenge in the past.  He changed out to a new filter, we bleed the fuel, started the engine, and away we go. This issue happened a couple times on what should have been a 24-hour passage. About ten miles outside St.Martin (French side), when we went to restart the engine there was a pop noise and then she wouldn’t restart! After several hours and still no resolution, we made the decision to sail into the port (note: we were sailing, well trying, while Jesse was down below trying to figure out the problem).  The wind was not in our favor (very slow sailing with long tacks back and forth to make any progress forward) and it was dark by the time we entered the port, which we had never been into before and there are unlit buoys and boats to keep an eye out for. Thankfully, this bay is very large with a nice sandy bottom, we dropped the anchor and hooked right away.

It took a couple of days of tracing wires, checking batteries, testing all engine components, to finally find a loose ground wire!  Yes, after all that, the issue really was that simple and didn’t cost anything to fix!  As you can imagine, we went out and celebrated after that! Time for good French wine, cheese, and baguettes!

We spent about a week or so checking out this half French (St.Martin) and half Dutch Island (St.Maarten). You can take a dinghy or car (we did both) from one country to the other without having to check in or out of either country.

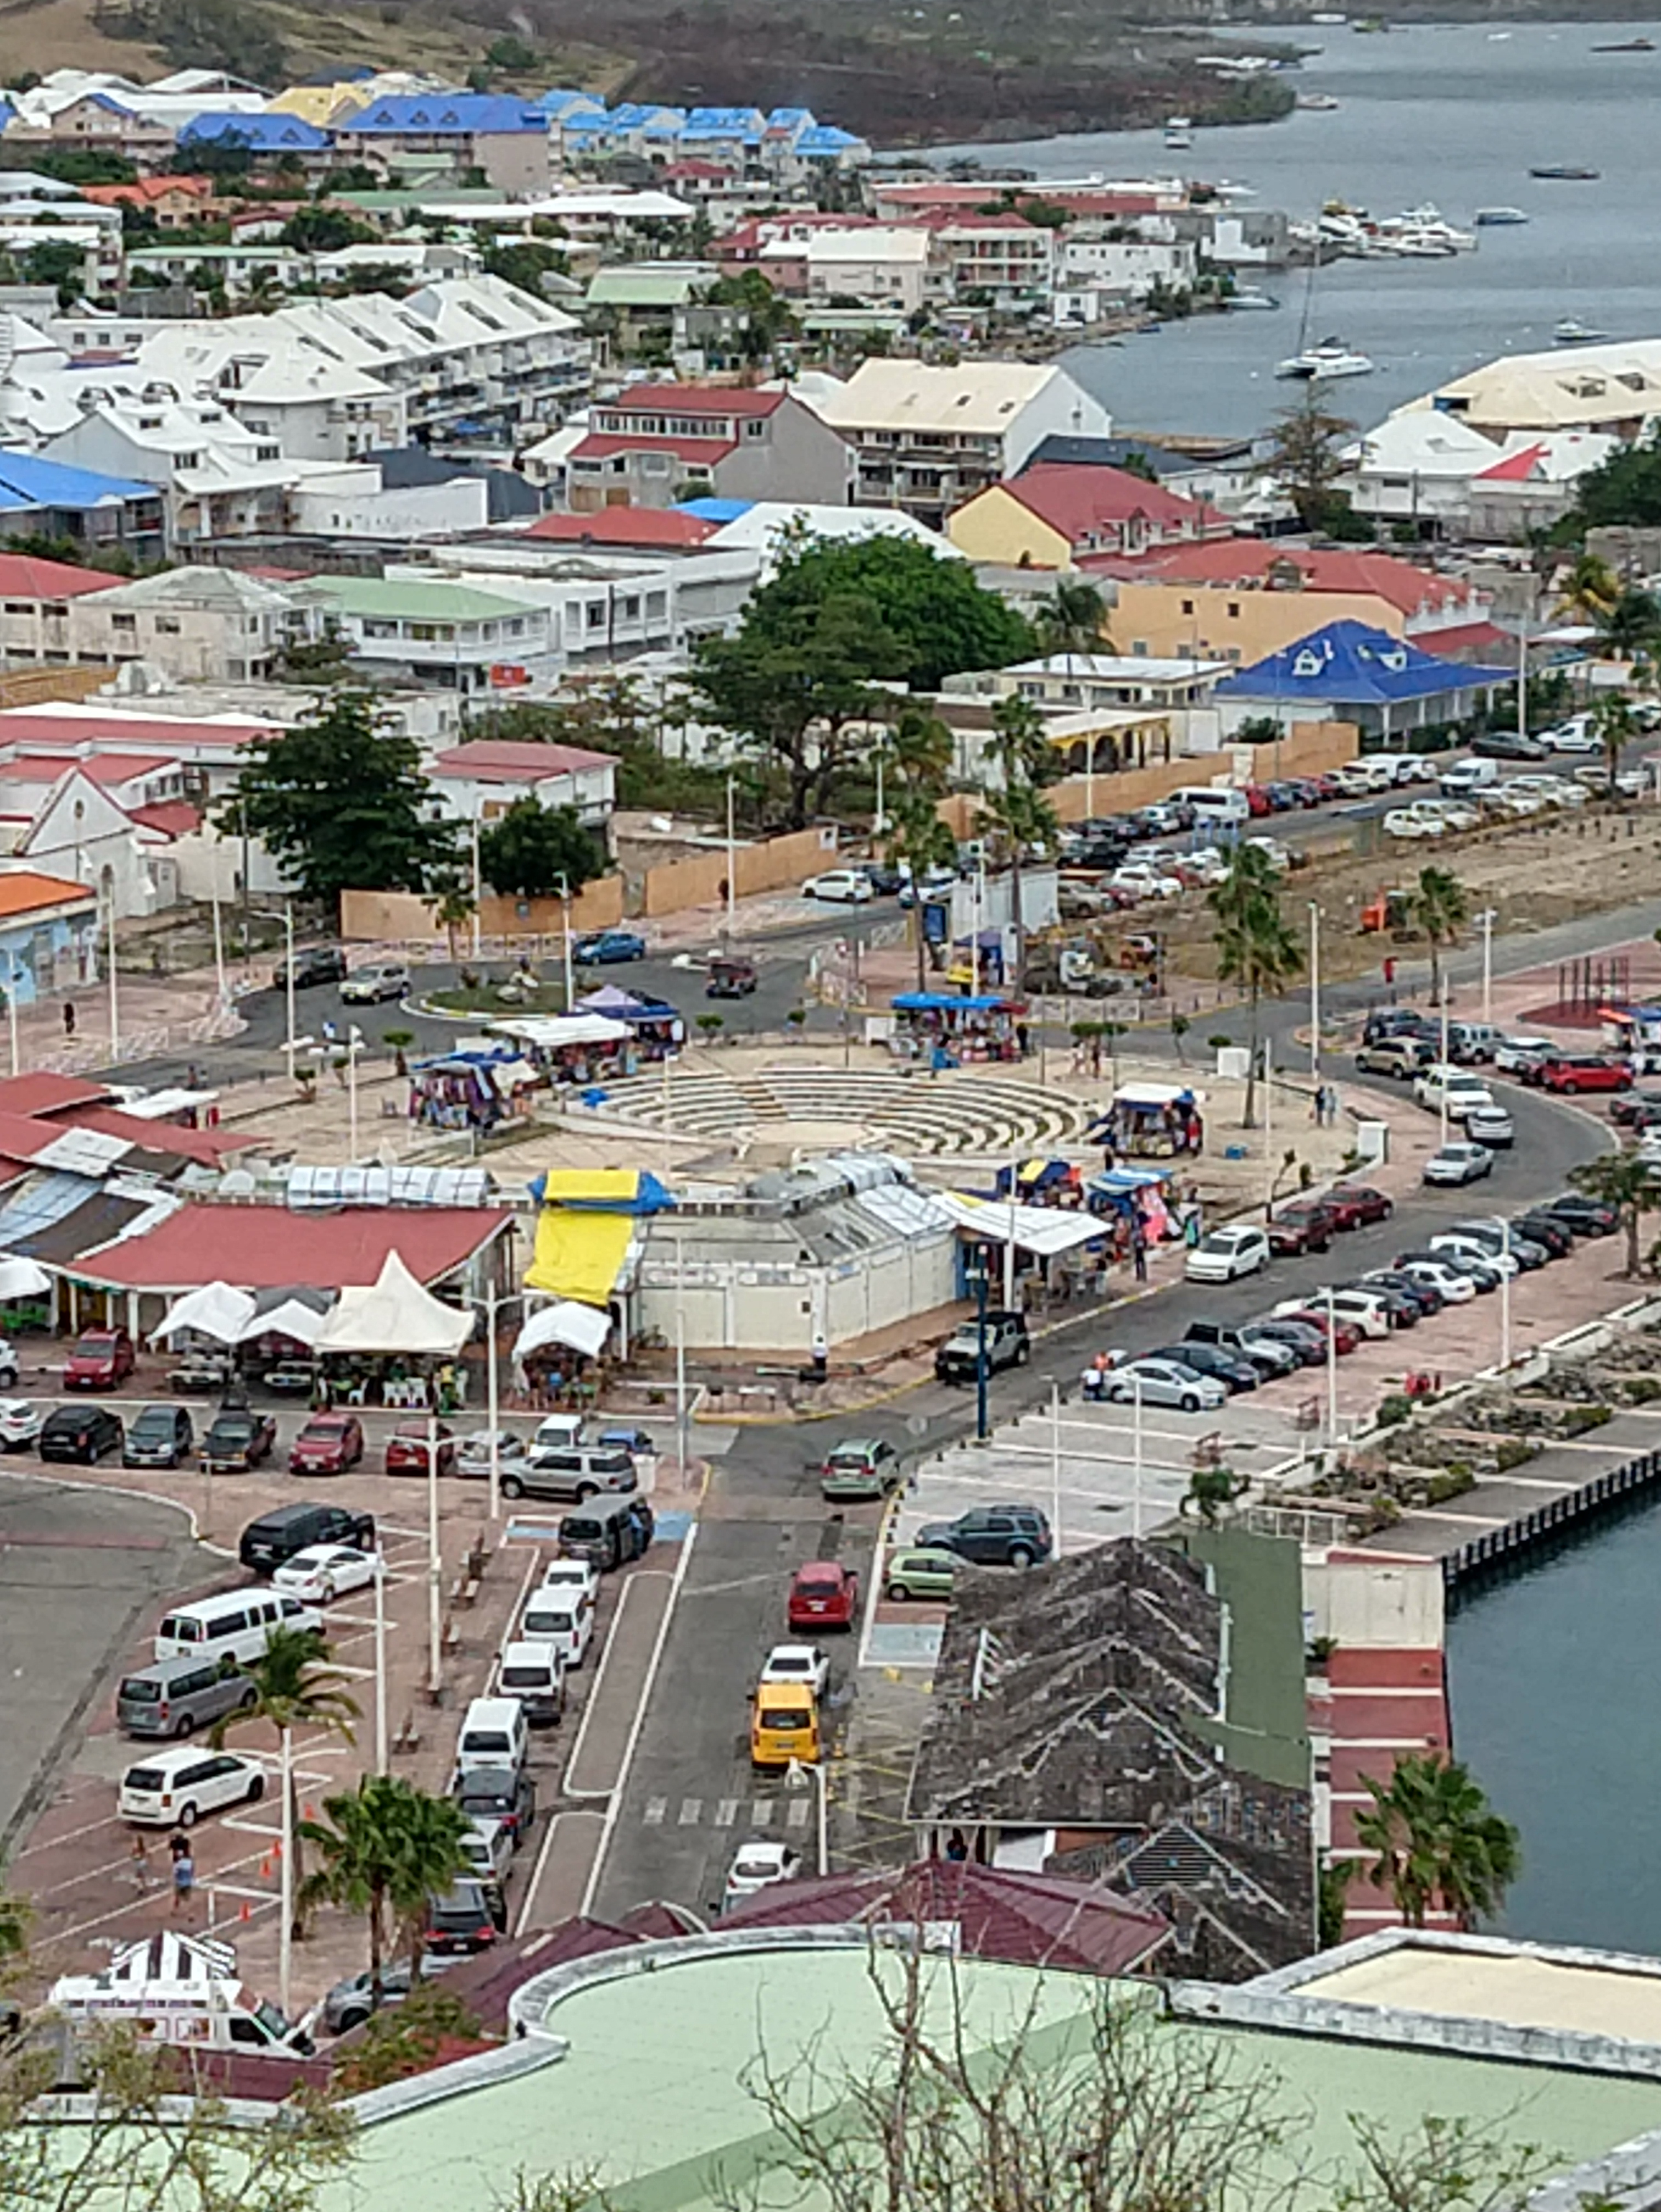
Marigot, St.Martin

Marigot, St.Martin

Fort Louis

entry to Fort Louis

Fort Louis 2

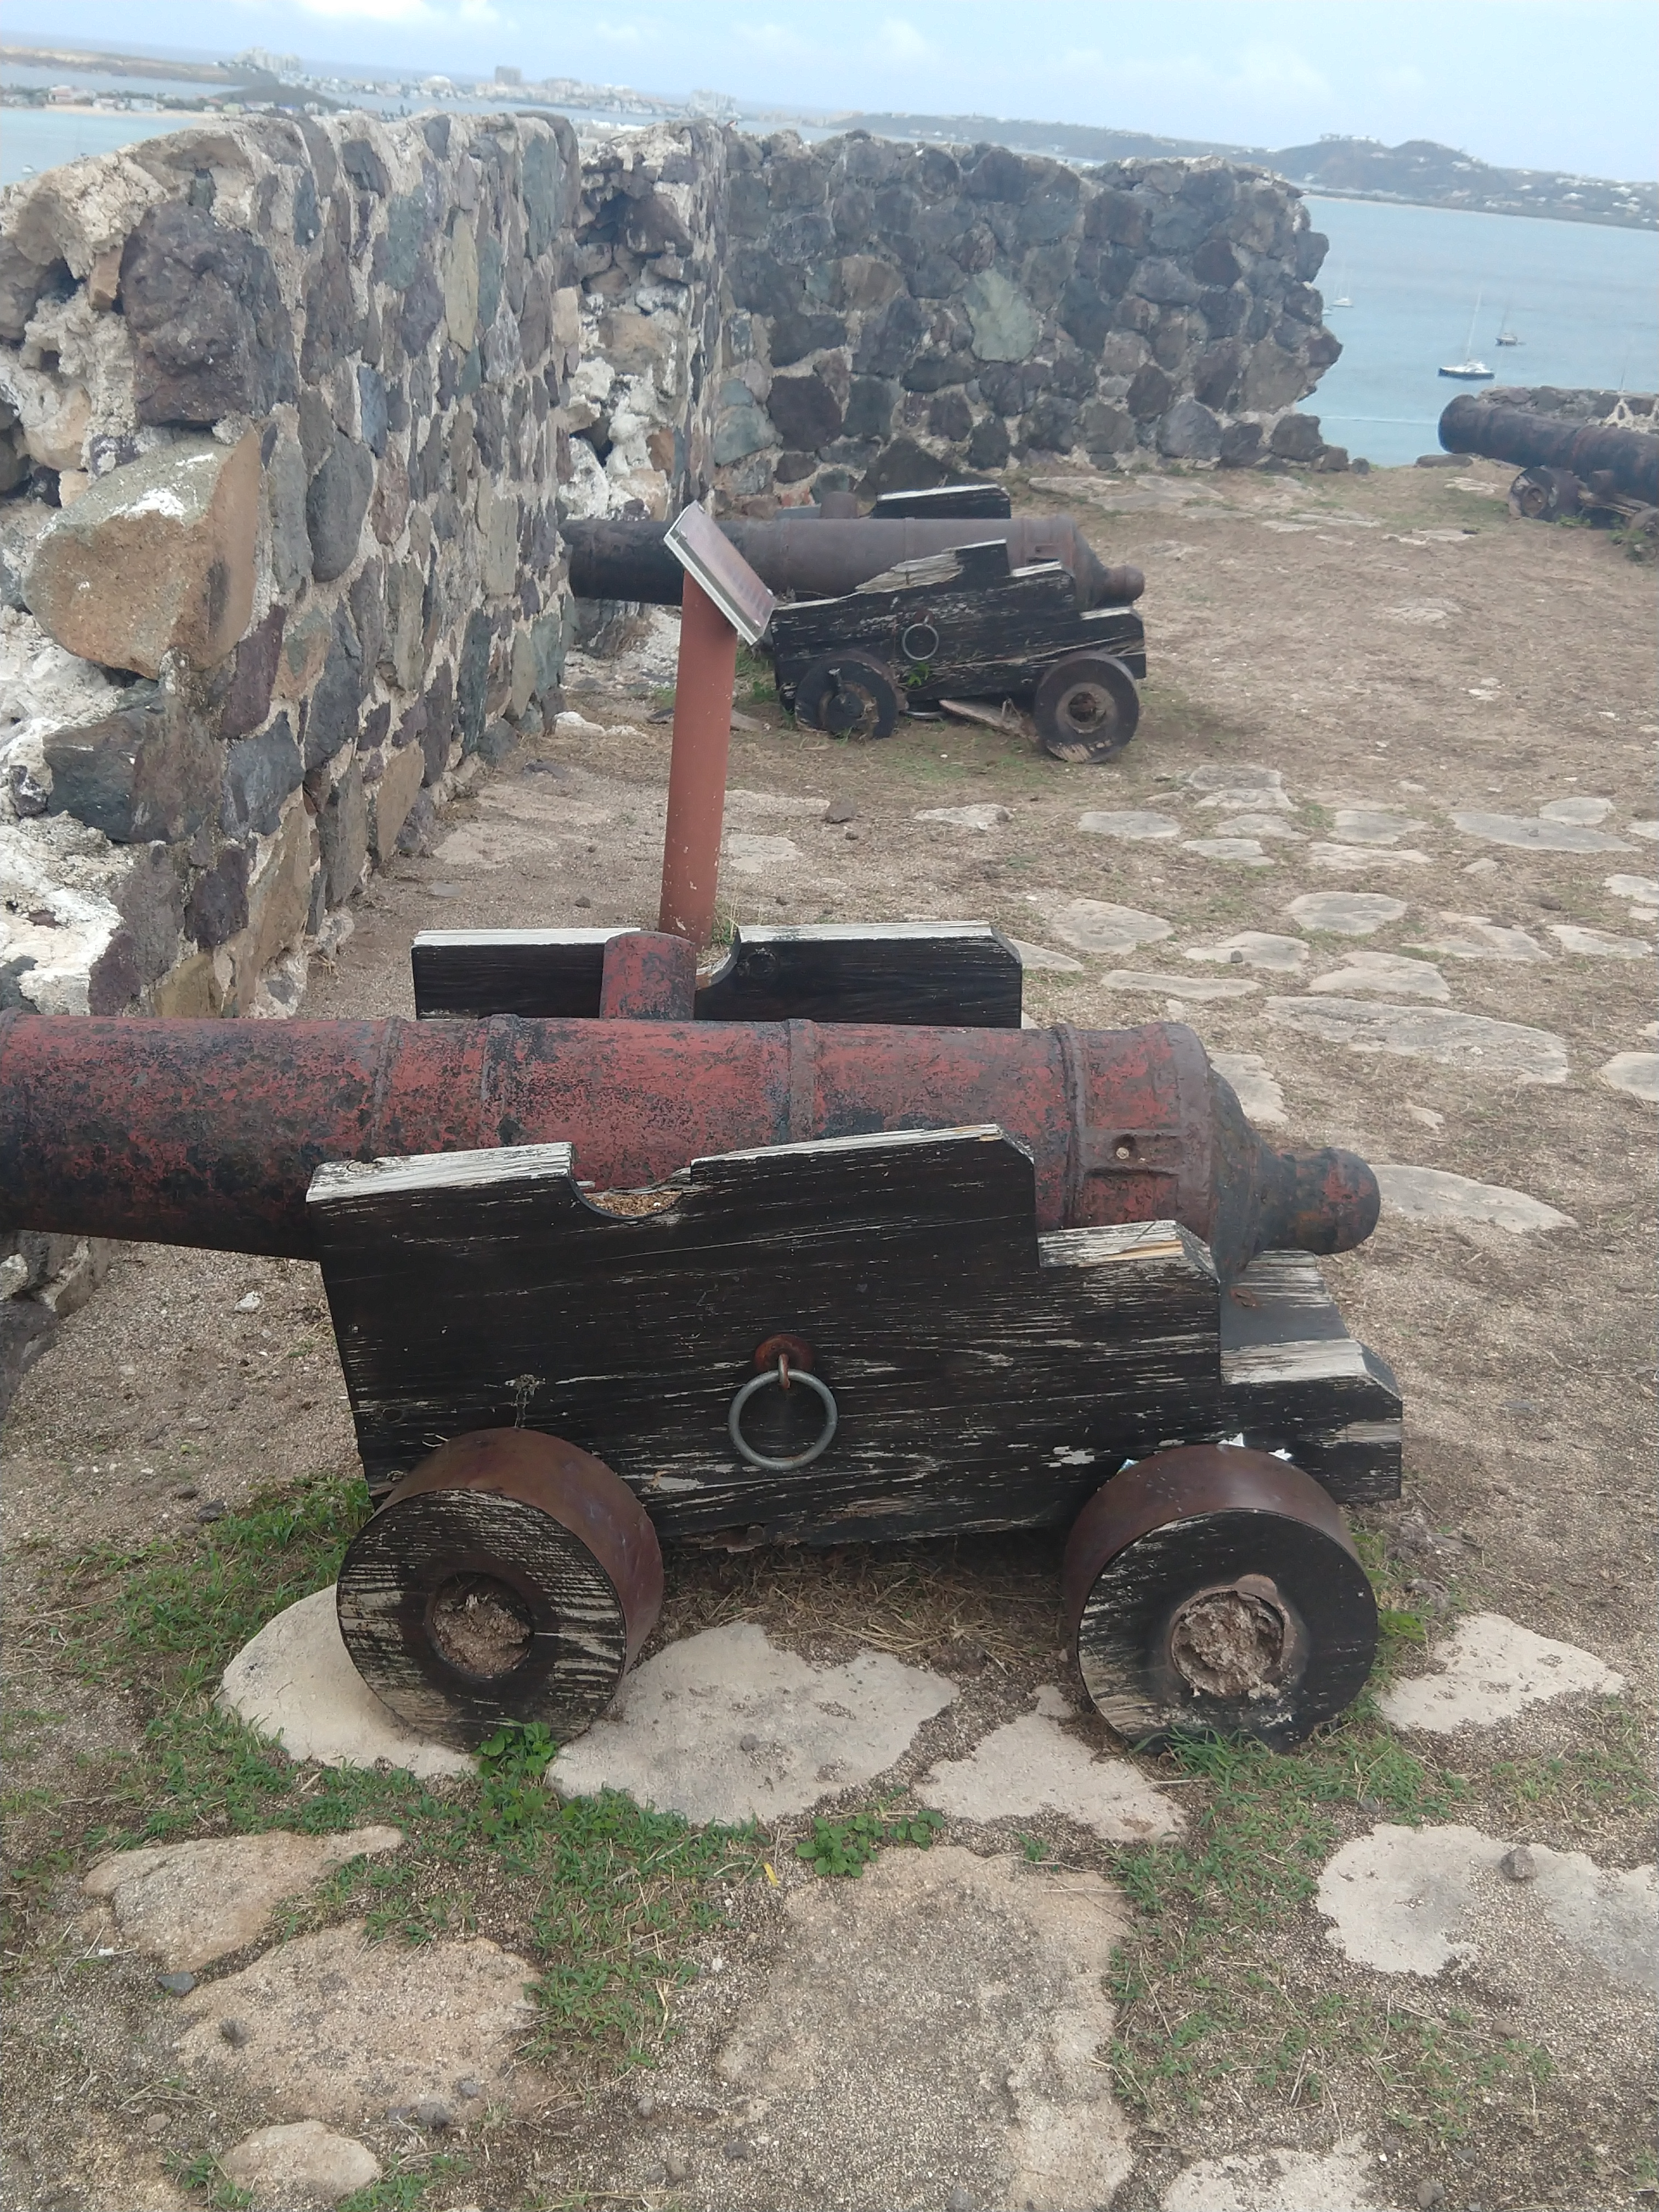
cannon – Fort Louis

fort louis jesse

Jesse on the receiving end of a cannon!

cover photo 2

Fort Louis

Random Scenes from Marigot Bay:  Local Art and a Horse “parked” outside the grocery store.

And no trip to St.Martin is complete without a stop at Maho Beach to watch the planes fly very low overhead to land at the Princess Juliana International Airport in St.Maarten.